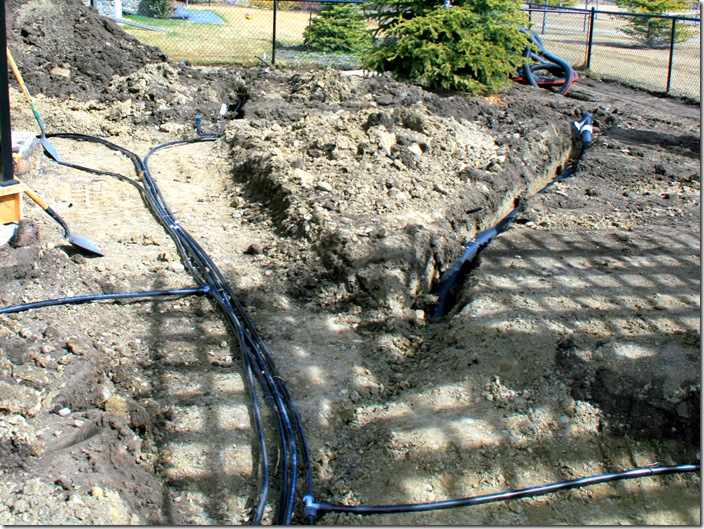
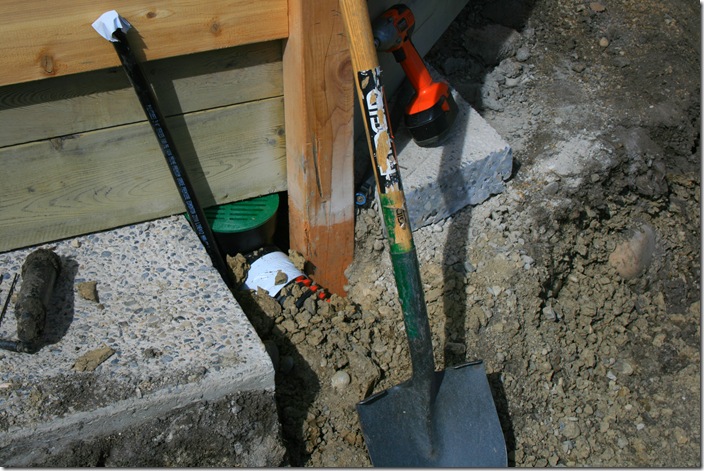
Our current project had some significant water issues (as usual on our projects), that we had to look after to ensure the quality of the project. We routed all the roof water to the low corner of the yard via underground drainage, then we installed positive drains under the deck and also in the yard on the lowest point on the high side of the new pathway (if that makes any sense). The water from the neighbor and the surface water on the high side of the pathway would have nowhere to go, except into the ground next the the path, causing all sorts of heaving and sogginess, hence the positive drain. These drains were also tied into the underground pipes, directing the water to the low corner of the yard.
Now this low corner of the yard is the low corner of the neighborhood. It is a soggy mess when it rains and for days afterwards. We decided to install a dry well for the retention and dispersion of excess water into the ground, taking it's own sweet time, out of sight and out of sog.
 We performed some tests, just to make sure the ground would accept the water. We dug a 4' deep x 8' wide x 1' wide hole, then filled it up with water. The first day it didn't really go down, but in the second day, all but a foot of water had drained away, and the the third morning the hole was dry again. That was good news, so we proceeded to complete the dry well.
 We pickup up a 4' long chunk of 12' dia sewer pipe, 30' of perforated drain tile, a 12" round valve cover box and a 15' x 15' sheet of geotex seperation fabric. The Geo-tex fabric is placed in the hole to seperate the dirt from the hole fill material, we drilled holes in the sewer pipe then placed it vertically in the hole, cut the Drain tile into 3' chunks and placed them vertically in the hole as well. The Sewer pipe is in the hole, just in case the homeowner wants to lower a sump pump in and drain the hole manually for any reason.
We then placed a drain pipe and emmiter coming out of the hole, to allow excess water in times of heavy rainfall to drain away normally and easily. We then filled the hole with old herringbone bricks (they leave the most amount of air (water) space. The Drain tile pipes do the same job, giving more space to hold water than if we just filled the entire hole with the bricks. Over the entire hole we folded the excess fabric and then filled the top of the cavity with the material we dug out of the hole initially. The 12" round valve cover box is placed on top the the sewer pipe then backfilled so that the top of the box is level with the final grade. The cap is put on the box and that is the only thing that gives and indication that something is under the ground there! Nice work team, it's the best part of this project that no one will ever see!
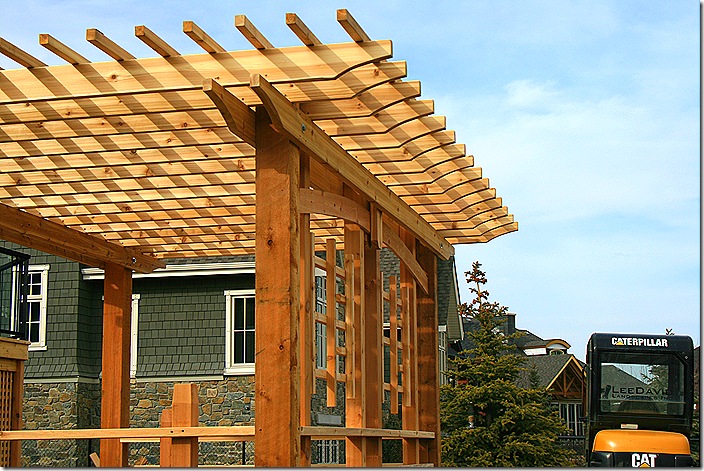
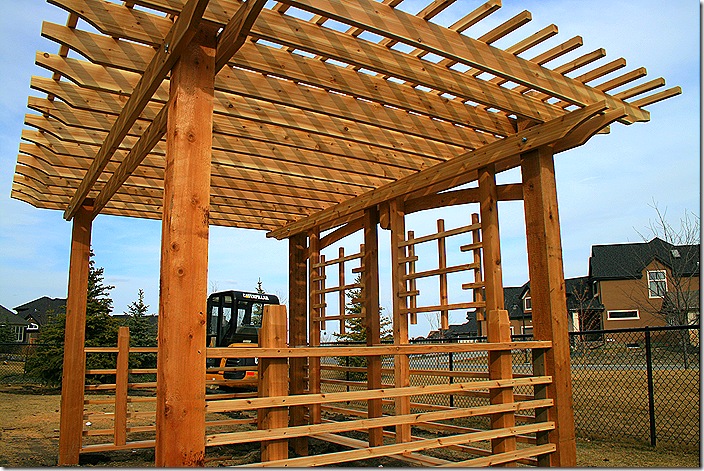
We also finished the Pergola, with all it`s little bits and details. It looks great!


