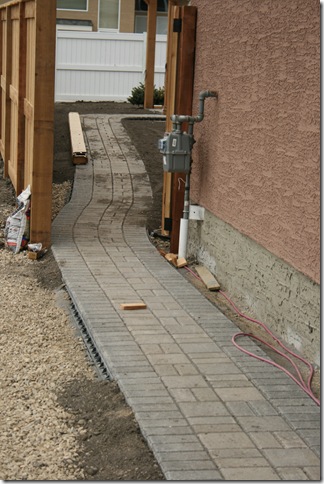
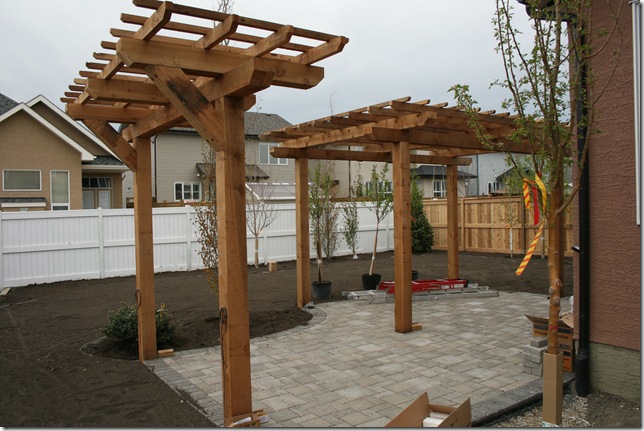
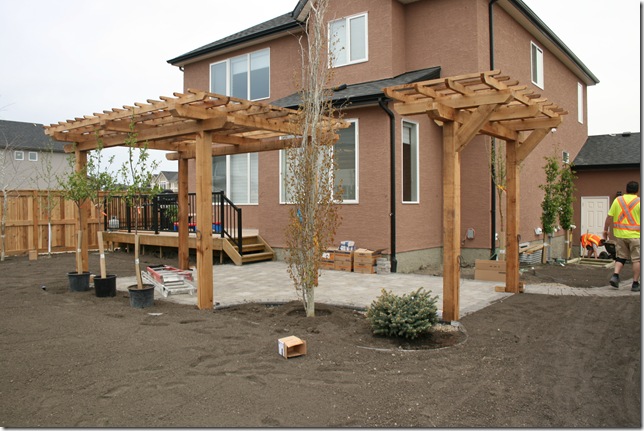
There are just a few items remaining, the shrubs, the sod, which is arriving today and the ‘high design’ portion of the pergolas, can’t wait to see the finished product. The long pathway is complete from the front to the back as well.
Mrs. Homeowner had a complaint the other day, not about us or our work, but because random people were trespassing into her yard on the weekend to look at the new landscape.
She would look out her window and someone would just be standing there looking around. She went out for an errand at one point and when she came home there was someone walking around her yard. She didn’t know if she should get out of the vehicle because she was worried it might make the guy feel embarrassed. But in the end she was like “wait a minute, this is my house, and why are you in my yard?”
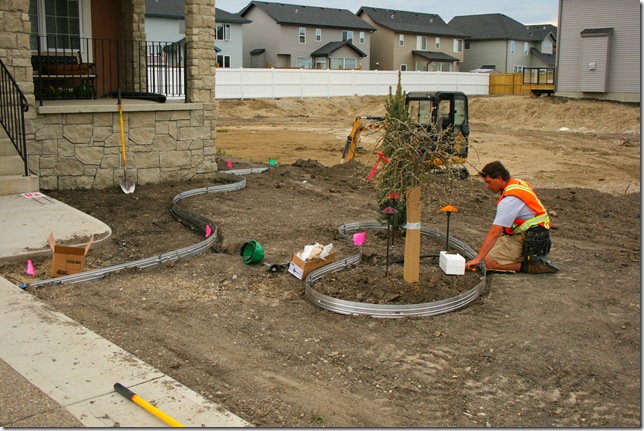
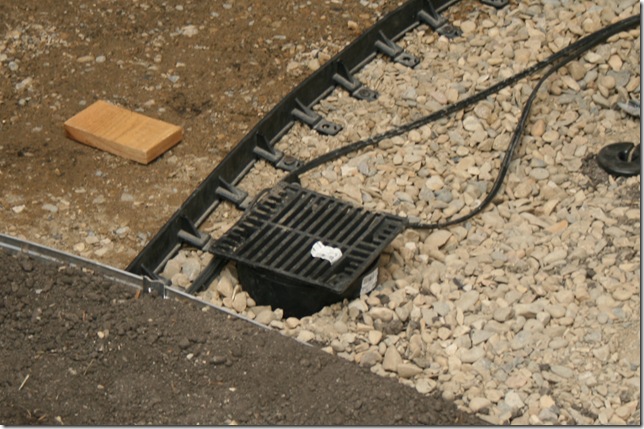
In the following picture, we have a really good look at why we use the expensive aluminum edging to define the beds and features. This product does not rely on any earth material to support the shape, so we can pre-form our areas and then fill with the correct material. This allows us to pack the soils to the proper specifications without worrying about and movement or support issues to the garden edges. The 5” depth of the edging also keep the grass root from migrating into the beds, so maintenance over the long run is much easier.
(oh, by the way, Ryan is installing some really cool lights, that add a bit of whimsy to a fairly formal landscape, but will probably be removing as the homeowner HATES them. I did choose them for a little flair and thought the kids might like them, but I suppose I am wrong sometimes, and we will put a different feature in there if they don’t warm up to our way of thinking, haha)
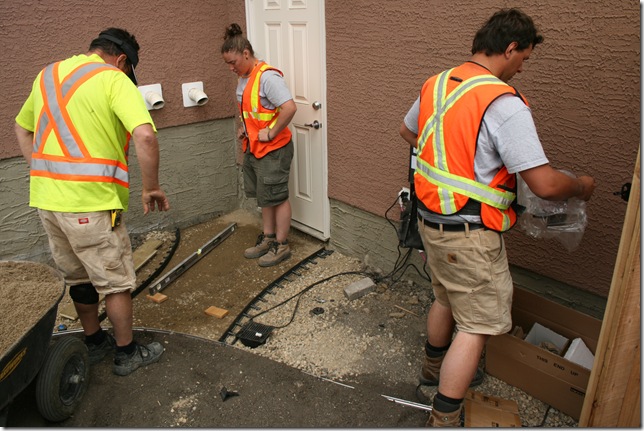
In other news, if you ever get a chance to put in a back door to your garage, DON’T. This has caused us and the homeowner some pretty major water/drainage grief. The grading is meant to be built up at the point where they put the door in to the tune of about a foot higher, so there was significant negative drainage in that spot.
We were able to bring it to to just ‘level’. Level is not good enough though. So we installed a positive drain and connected it to our downspout drainage.
This will take care of most of the rainfall that lands here, but there still may be some ice build-up during the winter and spring. At least this way the water won’t stay there once it melts.


No comments:
Post a Comment